


Top Walk Path Lights for Gardens?
A garden path can look inviting at sunset and disappear into shadow minutes later. Walk Path Lights help mark its edges, reveal uneven paving, and make late trips to the gate feel more comfortable. The right choice depends on the path itself, not just a product’s brightness. A narrow flagstone route needs different spacing from a broad gravel walkway, while trees and flower beds can cast changing shadows across both.
This guide compares popular styles, including solar stakes, low-voltage fixtures, and recessed lights. It considers light output, beam direction, weather resistance, installation effort, and ongoing maintenance. These details matter in everyday use: a solar lamp may dim after cloudy days, and a bright fixture can create glare near eye level. Small details count. We’ll also look at spacing and placement, since lights set too far apart can leave dark gaps between pools of light. Product specifications are useful, but real garden conditions vary with season, shade, and path layout. No single fixture suits every yard. That’s worth remembering. The recommendations aim to help you weigh practical benefits against limitations, rather than assume the most expensive or brightest option is automatically best. Before buying, check the manufacturer’s instructions and confirm that each fixture is suitable for its intended outdoor location.
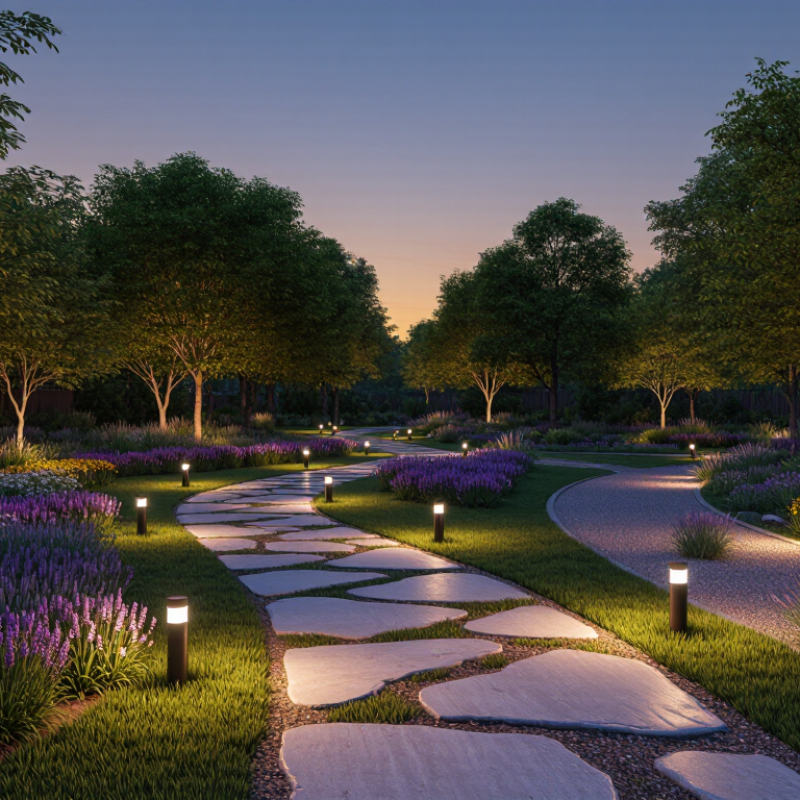
Types of Garden Path Lights
Garden path lights come in several useful forms. Low-voltage wired fixtures suit long paths and can provide steady, even illumination. Their small transformers need a dry, accessible location, and cable placement matters before the soil is planted. Solar stakes avoid wiring. But shade, winter days, and dirty panels can leave them dim by evening. A shaded path may need wired lights instead.
Fixture shape changes the effect. Mushroom-top lights cast a soft pool downward, while slim bollards spread light across wider paving. Recessed markers sit nearly flush with stone or timber, though leaves can hide them. Step lights work well beside changes in level. Keep beams aimed at the walking surface, not into a neighbor’s window. Subtle is often safer.
For efficient wired or solar fixtures, LED sources are a practical choice. The U.S. Department of Energy’s LED lighting guidance reports that LEDs use at least 75% less energy and can last up to 25 times longer than incandescent lighting. Those figures describe general lighting comparisons, not a guarantee for every garden fixture. I’d still check weather ratings, replaceable parts, and the path’s actual dark spots. One awkward corner can need more light than the rest.
Top Walk Path Lights for Gardens? - Types of Garden Path Lights
| Light Type | Typical Light Output | Power and Installation | Best For | Advantages | Things to Consider |
|---|---|---|---|---|---|
| Solar stake lights | Often about 5–100 lumens per light; decorative models may be dimmer. | A built-in solar panel charges a battery during daylight. Push-in stakes are usually simple to install. | Sunny paths, borders, and low-maintenance decorative lighting. | No buried power cable; easy to move and install. | Run time and brightness depend on sunlight, battery condition, season, and shade. Clean panels periodically. |
| Low-voltage wired path lights | Commonly about 50–300 lumens per fixture, depending on the design and purpose. | A transformer reduces household power to low voltage, commonly 12 V. Outdoor-rated cable connects the fixtures. | Frequently used paths and gardens where reliable, regular illumination is wanted. | Consistent operation and a wide choice of fixture styles; generally less electrical risk than line-voltage outdoor wiring. | Requires a suitable transformer and cable layout. Follow local electrical requirements and the installation instructions. |
| Line-voltage path lights | Output varies widely with the lamp and fixture; select by measured lumens and intended coverage. | Connects to household mains power. Outdoor installation requires appropriate weather protection and code-compliant wiring. | Large properties or designs requiring a dedicated mains-powered lighting system. | Can support a substantial lighting layout and may suit existing outdoor electrical infrastructure. | Installation is more complex; use a qualified electrician where required by local rules. |
| Recessed or in-ground lights | Ranges from subtle marker lighting to brighter directional beams; check the fixture’s lumen rating and beam angle. | Installed flush with paving or ground. Many garden versions use low-voltage wiring; some are solar powered. | Modern paths, steps, and edges where fixtures should not protrude into the walkway. | Low-profile appearance and minimal obstruction of the walking surface. | Needs suitable drainage and a fixture rated for its location. Avoid glare into the eyes and check load ratings if people may step on it. |
| Bollard and post lights | Varies by height, optics, and lamp; downward-shielded models direct more light onto the path. | Available in solar, low-voltage, and line-voltage versions. Typically mounted on a base or set into the ground. | Wider paths, entrances, and open garden areas that benefit from clearly visible fixtures. | Provides a more prominent visual marker and can spread light over a broader area. | Spacing and glare control matter. Position fixtures so they do not narrow the walkway or obstruct maintenance. |
| Motion-activated path lights | Output depends on the fixture; some stay dim and brighten when motion is detected. | May be solar, battery-powered, or wired. A sensor switches the light on or changes its brightness when movement is detected. | Occasionally used paths, side gates, and areas where light is mainly needed when someone approaches. | Can reduce the time lights stay at full brightness and make movement easier to notice. | Sensor range and sensitivity vary. Plants, passing traffic, and weather may affect triggering; aim the sensor carefully. |
Note: Light-output figures are indicative ranges, not guarantees. Actual brightness, coverage, and operating time vary by fixture, optics, placement, and conditions.